Affordable, Awards, Banquets, Basketball Players, Building It Yourself, Easy To Build, Football Players, Home DIY, Living, Storage Ideas, Things-to-Do, Trophies, Tutorials, Woodworking

DIY Trophy Shelf: How to Build and Hang a Trophy Shelf in One Afternoon

DIY Trophy Shelf: How to Build and Hang a Trophy Shelf in One Afternoon

I’ll admit it, I know my way around tools and woodworking a bit. But don’t worry, you don’t need to be an expert to tackle this project. This DIY trophy shelf is simple, affordable, and quick to execute with just a few tools and materials.

For years, my family’s trophies sat forgotten in a tub, then later on a cabinet, gathering dust. Honestly, I should have built these shelves ages ago. Don’t make the same mistake I did! Grab your materials today. Finally give those hard-earned awards, or any items you have been wanting to display, the showcase they deserve. Let’s get building!

Materials You Will Need:

  • Common Board

You can find one here for about $20:

 1 in. x 12 in. x 6 ft. Common Board 458511 – The Home Depot

  • Heavy Duty Shelf Brackets
  • Purchase them here for about $18:

Amazon.com: 4 Pcs Heavy Duty Shelf Brackets 8 Inch Industrial Metal Floating Bracket Shelving Supports Wall Mounted with Lip (Not Included Planks) : Tools & Home Improvement

Tools:

  • Saw (or have your local hardware store make the cuts for you if you don’t have a miter saw)
  • Sandpaper
  • Measuring tape
  • Drill
  • Stud finder
  • Leveler
  • Spray paint or stain (your choice of color/finish)

Let’s Get Started:

1. Cut Your Board

If you are making your own cuts, measure and cut your board to the desired length. In this example, I am making two 3-foot-long shelves from one 6 foot length board cut in half.  If you do not have a saw at home, do not worry. Most local hardware stores can make cuts for you.

2. Sand Your Boards

Move to a workspace or table and lay your boards flat.  Begin sanding each side until the surface is smooth to the touch.  This will likely be the most time-consuming step.  If you have a power sander, I highly recommend using it to cut your sanding time in half.  I sanded by hand this time because I did not feel like dragging my sander out.

Once you have sanded down both sides and eliminated any rough edges, dust off the boards to remove debris.  Be sure to also dust your workspace so it is clean and ready for the next step.

3. Paint or Stain

I chose spray paint because it is fast and easy. Staining the wood is another excellent option. It provides a beautiful finish. I have done both in other parts of my home, and they both look awesome.  Paint or stain one side of the boards and let them dry while you prepare your wall for the shelves.

4. Measure and Mark the Wall

While your boards are drying, go to the space where you plan to hang the shelves.  Use a stud finder to locate the studs in the wall.  Mark the stud locations with a pencil to ensure the shelves will be properly supported.

Next, measure and mark where the brackets will be placed.  Drill the first bracket into the wall. Use a leveler to ensure the second bracket is even before drilling it into place.  Repeat this process for the second shelf. Use a trophy or another item to gauge the appropriate spacing between the shelves.

5. Finish Painting the Boards

Once the brackets are installed, return to your workspace. Flip the boards over to paint or stain the other side.  Once finished, allow them to dry completely. (Pro tip: use this drying time to take a break or, in my case, make dinner!)

6. Assemble the Shelf

Once both sides of the boards are dry, bring them inside and place them on the brackets.  Arrange your trophies or other items on the shelves how you see fit.

7. Show Off Your Work

Finally, call everyone in to admire your craftsmanship.  Enjoy the compliments from your family. They will tell you what an amazing job you did building and hanging a trophy shelf. You accomplished this all in just one afternoon!

Final Thoughts: This project is not only quick and rewarding but also customizable.  You can build a display for trophies, books, or decor. This method can be easily adapted to suit your needs.  Happy building!

Classes, Coffee, Date Night, Food Opinion, Living, Self-Care, Things-to-Do, Travel, Tutorials, Wine, Wine Tasting

Think Wine Tasting, but with Coffee: My Experience at Press Coffee Roaster’s Interactive 101 Class

Think Wine Tasting, but with Coffee: My Experience at Press Coffee Roaster’s Interactive 101 Class

When I signed up for Press Coffee’s 101 class, I wasn’t entirely convinced that I’d walk out a coffee aficionado. But as it turns out, I left with some serious coffee knowledge.  Everything from where coffee originates, to how it’s processed, to what it takes to get it from the farm to your cup.

I stumbled upon this class thanks to Eventbrite’s “events you might like” feature (they know me so well), and seeing Press Coffee’s name didn’t hurt.  Press Coffee is always listed as one of the valley’s premier coffee roasters.  After all, they have 12 locations around Arizona and even supply coffee to multiple retail spots across the valley.

The Scene at Press Coffee

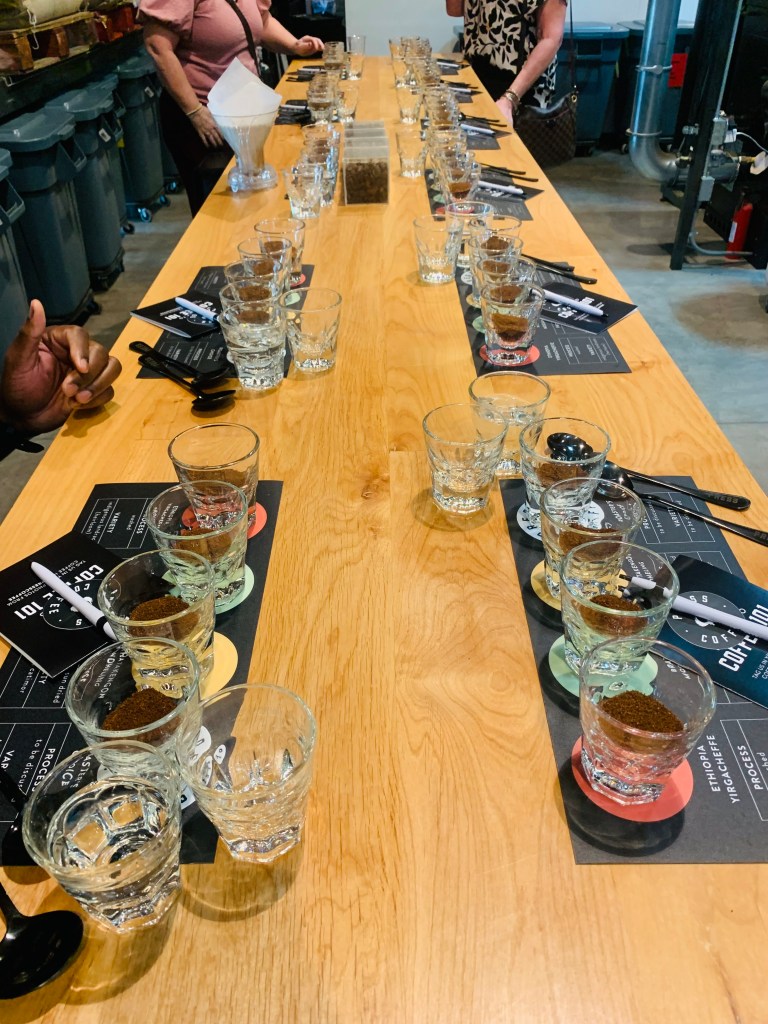
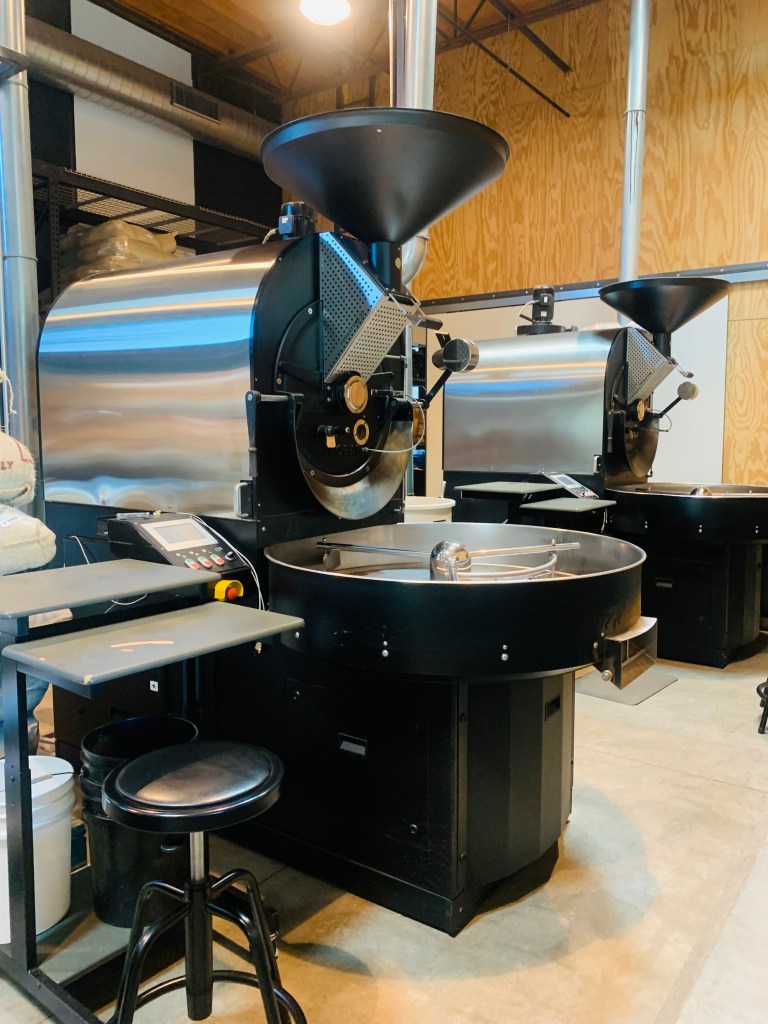
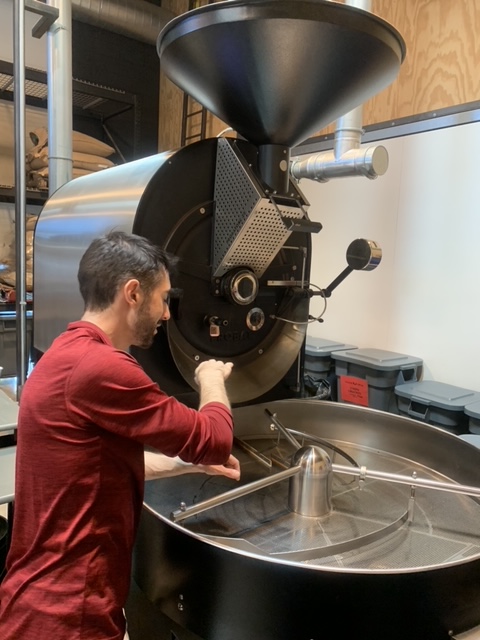
We arrived to find Press buzzing with coffee drinkers in the front, some sipping and socializing, others laser-focused on laptops.  In the back, there’s a spacious second level for more seating, but we stayed downstairs, where three enormous coffee bean roasters sat in all their luxuriousness, along with our cozy 12-person classroom setup.  It was perfect for both tasting and learning.

Our host welcomed us with a steamy cup of Gesha coffee.  This rare, high-end coffee ($50 per cup, just FYI!) has a unique profile that’s more tea-like than coffee-like, and he wasn’t kidding.  It was a delicate, almost floral flavor, unlike anything I’d tasted in coffee form.

The Class Kicks Off

From there, we dove into the rich world of coffee.  We learned about origins, flavors, and roasting techniques.  A cool part of the tasting was letting each blend cool down a bit and then trying it again.  Who knew a little time could bring out so many different notes?

My Favorite Coffee Roast

My favorite roast was Brazil Mogiano for its boldness, but it was also subtle. I like a medium roast. Right up the middle. My husband? He was into them all!

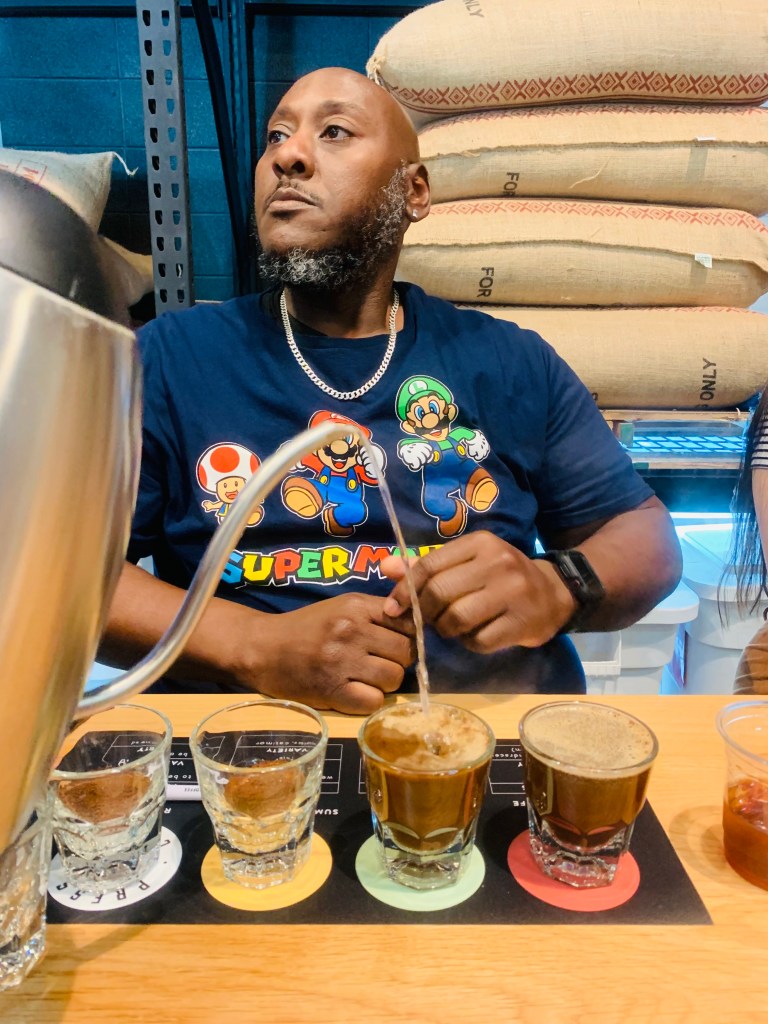
Behind-the-Scenes of Coffee Bean Roasting

We wrapped up with a behind-the-scenes look at the roasters and even learned about the farm Press Coffee owns, which supplies their unique beans.  If you love coffee, want a fun outing with friends, or cool date idea, I can’t recommend this class enough. And yes, you even get a code for a free bag of coffee with a subscription (no pressure to keep it, but why wouldn’t you?!).

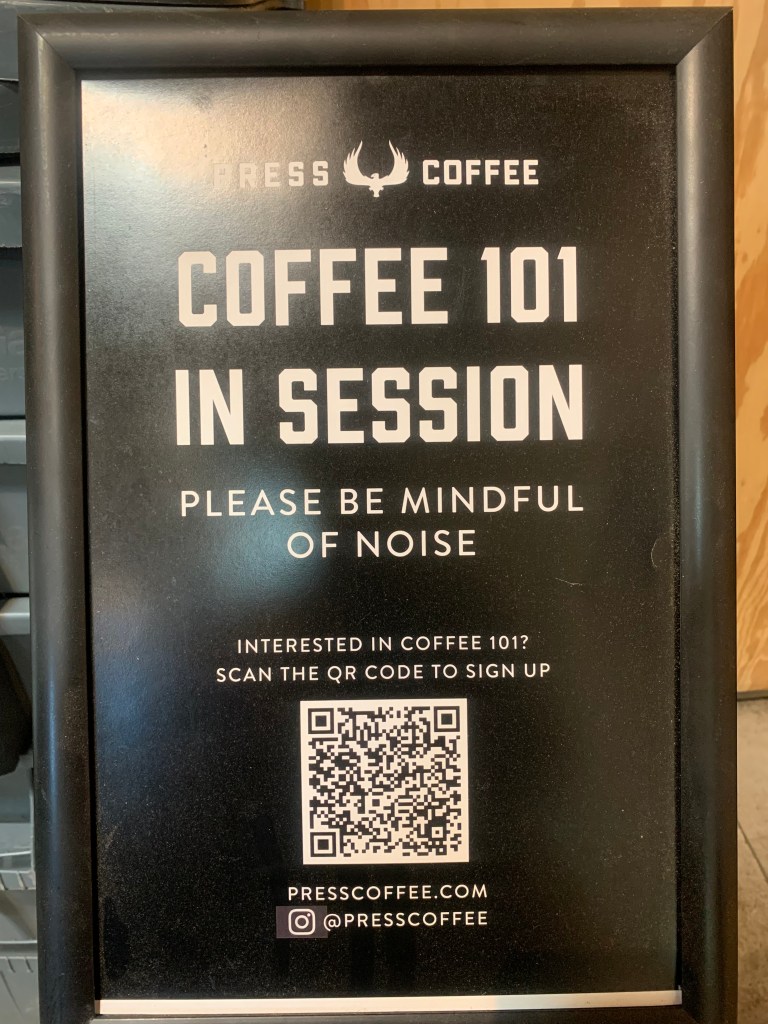
Press Coffee 101 Details, Sign-Up, and Cost

So, who’s ready to sip like a pro?