
DIY Trophy Shelf: How to Build and Hang a Trophy Shelf in One Afternoon
I’ll admit it, I know my way around tools and woodworking a bit. But don’t worry, you don’t need to be an expert to tackle this project. This DIY trophy shelf is simple, affordable, and quick to execute with just a few tools and materials.
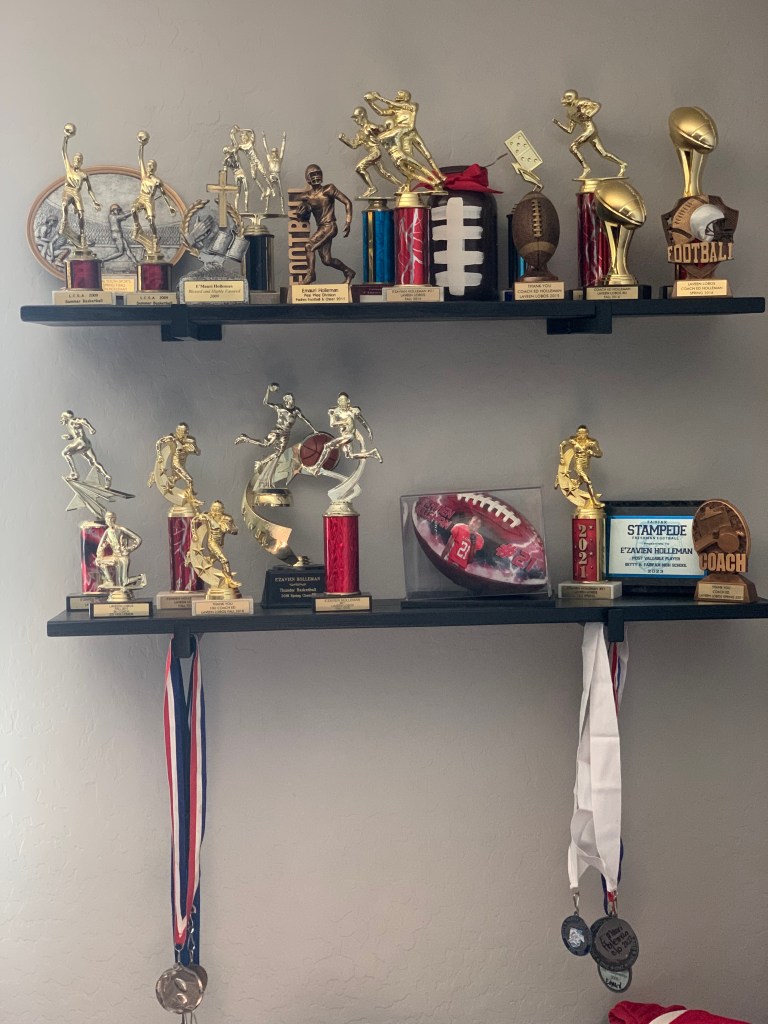
For years, my family’s trophies sat forgotten in a tub, then later on a cabinet, gathering dust. Honestly, I should have built these shelves ages ago. Don’t make the same mistake I did! Grab your materials today. Finally give those hard-earned awards, or any items you have been wanting to display, the showcase they deserve. Let’s get building!
Materials You Will Need:
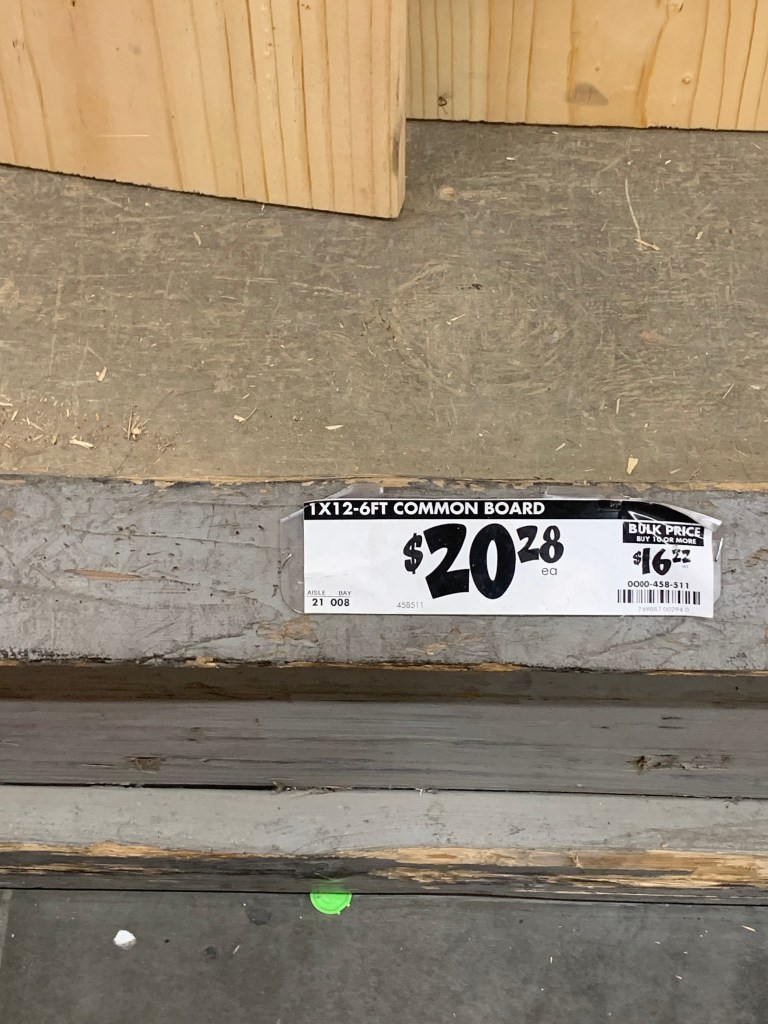
- Common Board
You can find one here for about $20:
1 in. x 12 in. x 6 ft. Common Board 458511 – The Home Depot
- Heavy Duty Shelf Brackets
- Purchase them here for about $18:
Tools:
- Saw (or have your local hardware store make the cuts for you if you don’t have a miter saw)
- Sandpaper
- Measuring tape
- Drill
- Stud finder
- Leveler
- Spray paint or stain (your choice of color/finish)
Let’s Get Started:
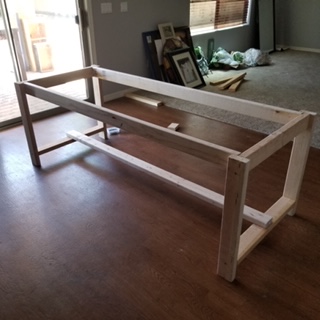
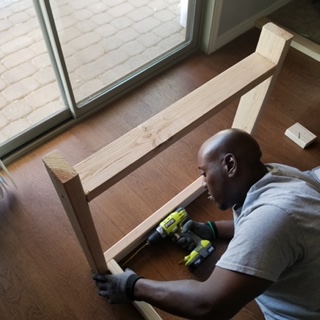
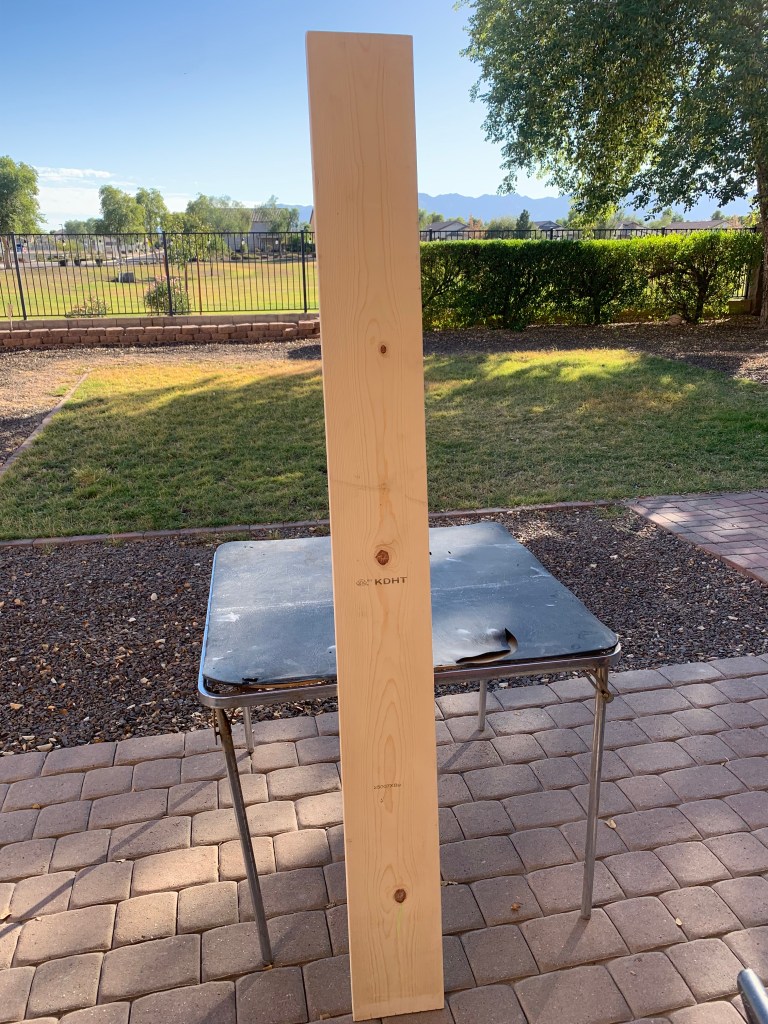
1. Cut Your Board
If you are making your own cuts, measure and cut your board to the desired length. In this example, I am making two 3-foot-long shelves from one 6 foot length board cut in half. If you do not have a saw at home, do not worry. Most local hardware stores can make cuts for you.

2. Sand Your Boards
Move to a workspace or table and lay your boards flat. Begin sanding each side until the surface is smooth to the touch. This will likely be the most time-consuming step. If you have a power sander, I highly recommend using it to cut your sanding time in half. I sanded by hand this time because I did not feel like dragging my sander out.
Once you have sanded down both sides and eliminated any rough edges, dust off the boards to remove debris. Be sure to also dust your workspace so it is clean and ready for the next step.
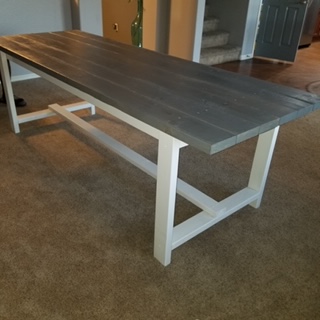
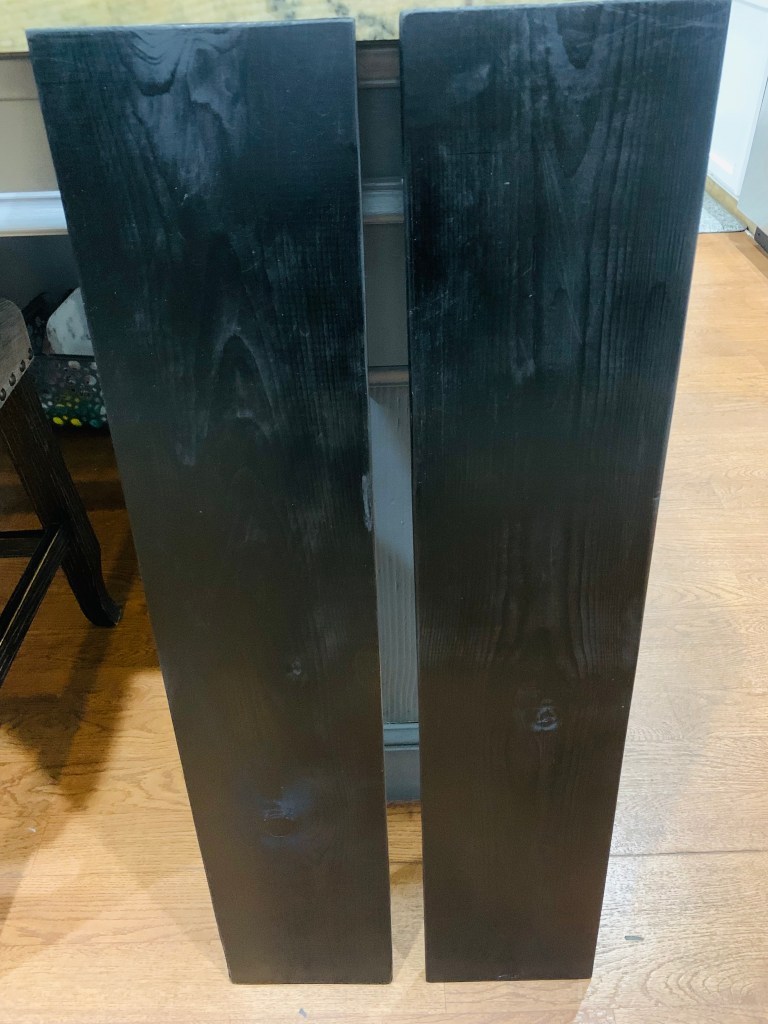
3. Paint or Stain
I chose spray paint because it is fast and easy. Staining the wood is another excellent option. It provides a beautiful finish. I have done both in other parts of my home, and they both look awesome. Paint or stain one side of the boards and let them dry while you prepare your wall for the shelves.


4. Measure and Mark the Wall
While your boards are drying, go to the space where you plan to hang the shelves. Use a stud finder to locate the studs in the wall. Mark the stud locations with a pencil to ensure the shelves will be properly supported.
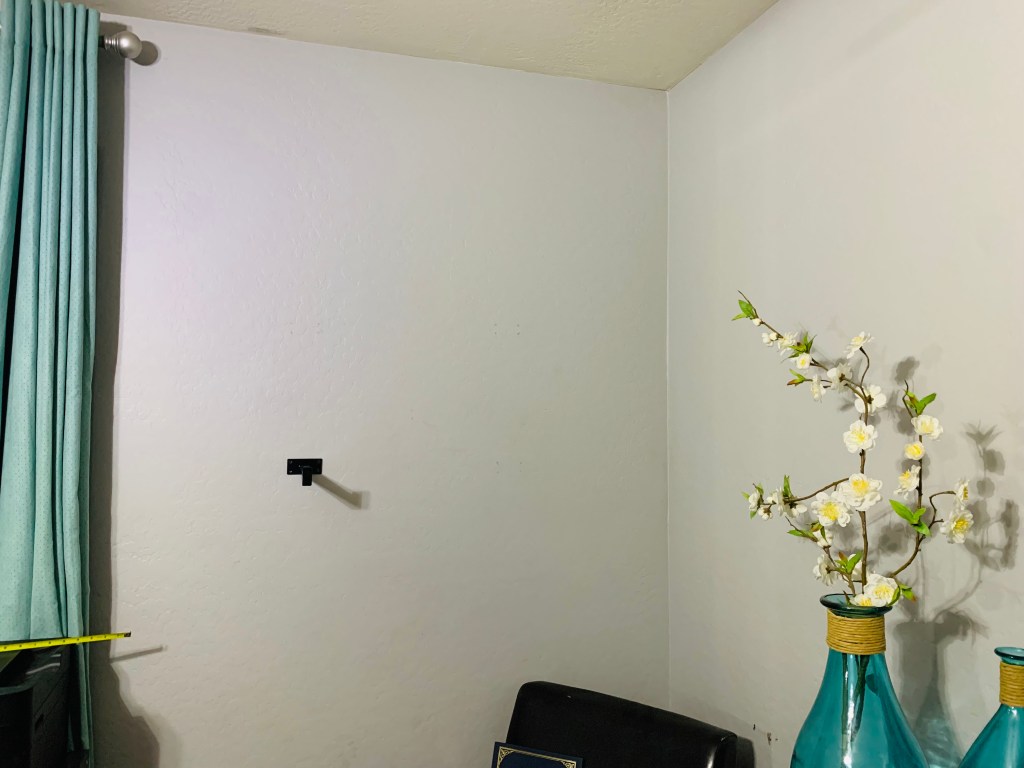
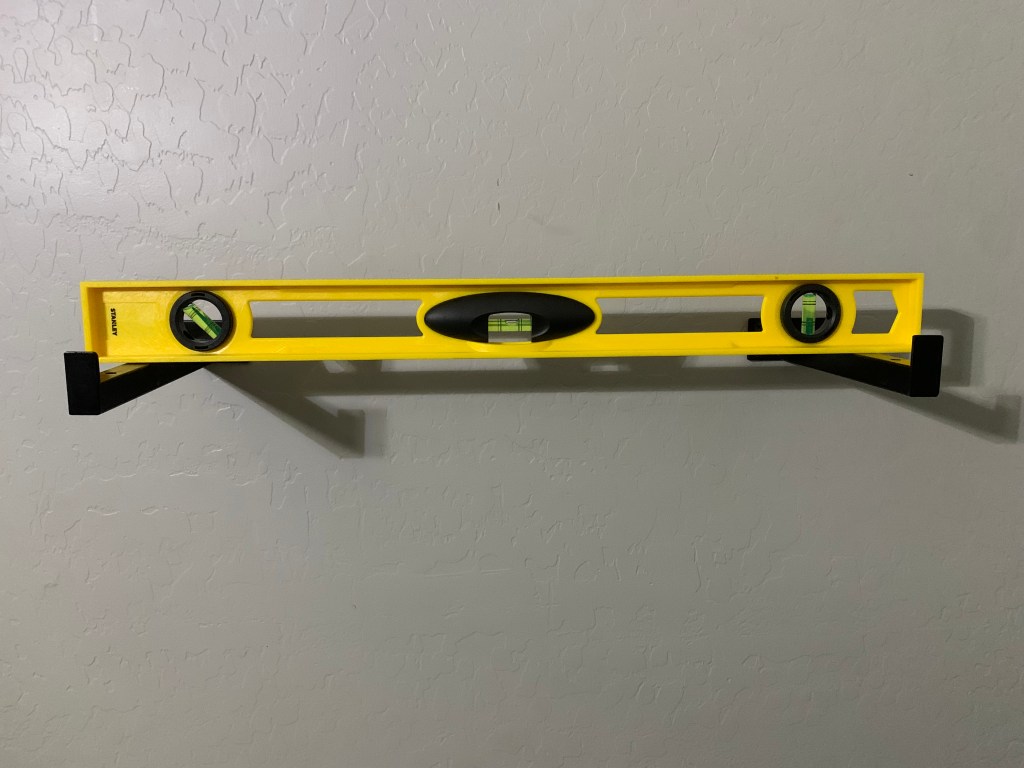
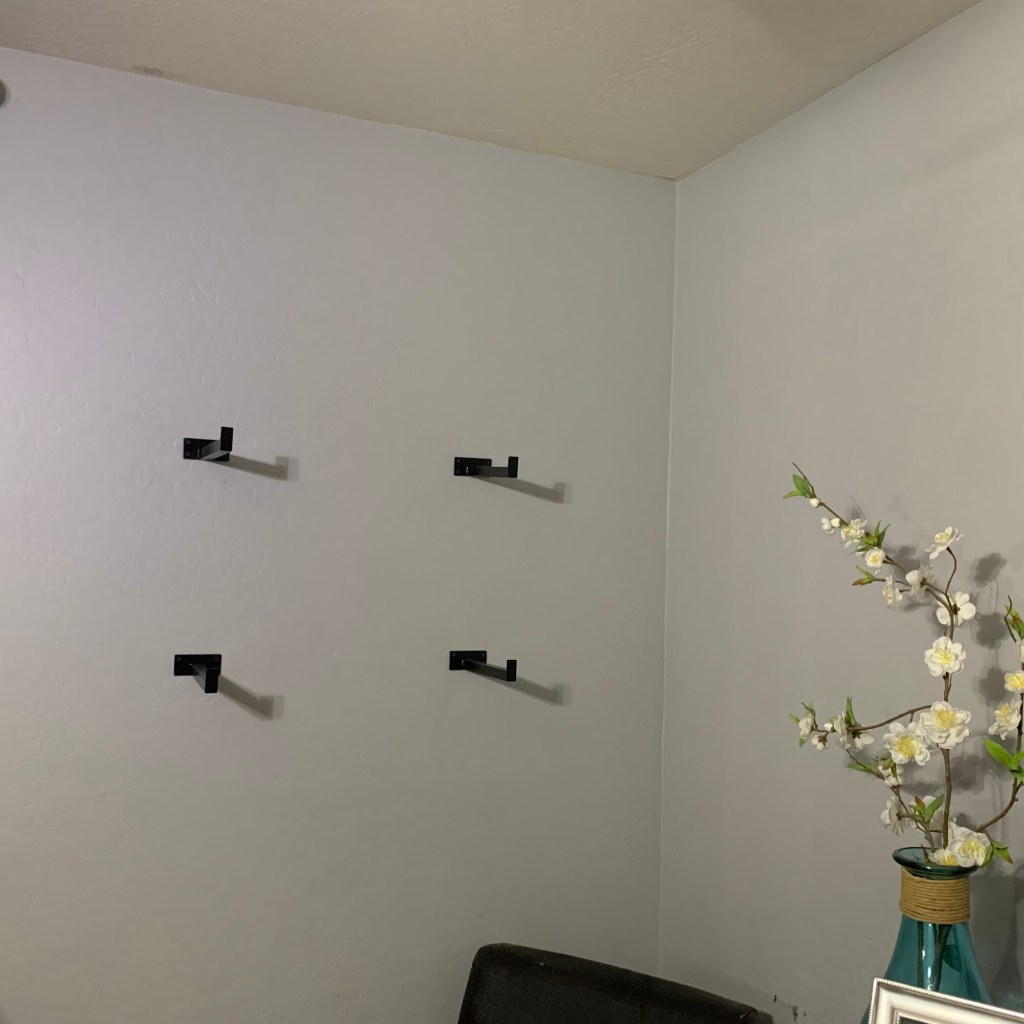

Next, measure and mark where the brackets will be placed. Drill the first bracket into the wall. Use a leveler to ensure the second bracket is even before drilling it into place. Repeat this process for the second shelf. Use a trophy or another item to gauge the appropriate spacing between the shelves.
5. Finish Painting the Boards
Once the brackets are installed, return to your workspace. Flip the boards over to paint or stain the other side. Once finished, allow them to dry completely. (Pro tip: use this drying time to take a break or, in my case, make dinner!)
6. Assemble the Shelf
Once both sides of the boards are dry, bring them inside and place them on the brackets. Arrange your trophies or other items on the shelves how you see fit.
7. Show Off Your Work
Finally, call everyone in to admire your craftsmanship. Enjoy the compliments from your family. They will tell you what an amazing job you did building and hanging a trophy shelf. You accomplished this all in just one afternoon!
Final Thoughts: This project is not only quick and rewarding but also customizable. You can build a display for trophies, books, or decor. This method can be easily adapted to suit your needs. Happy building!